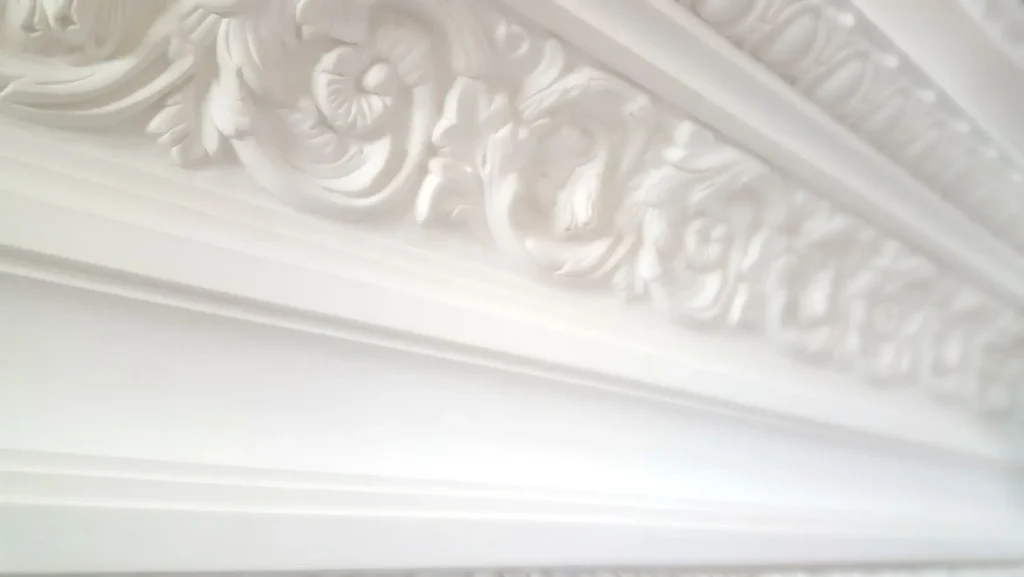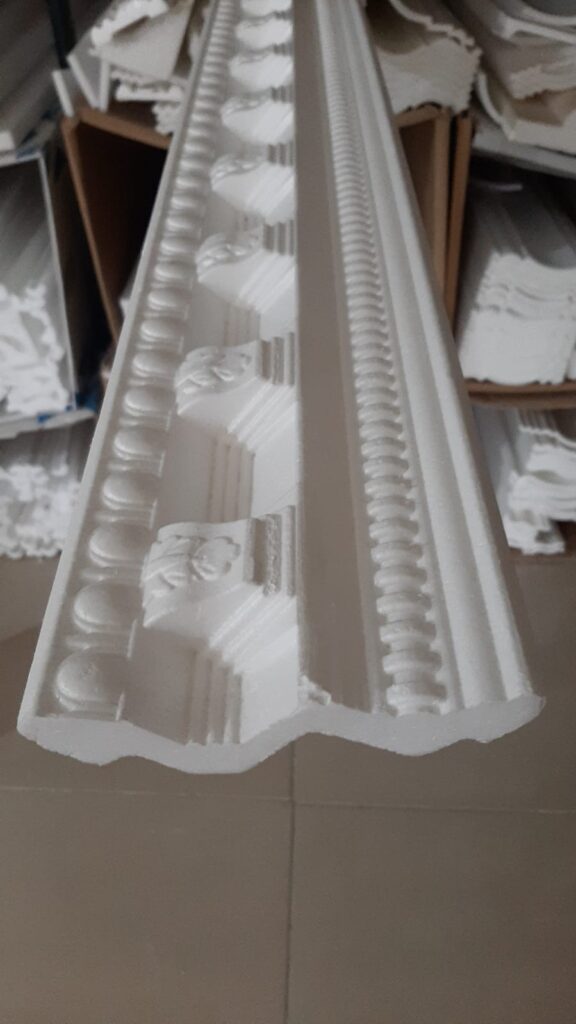
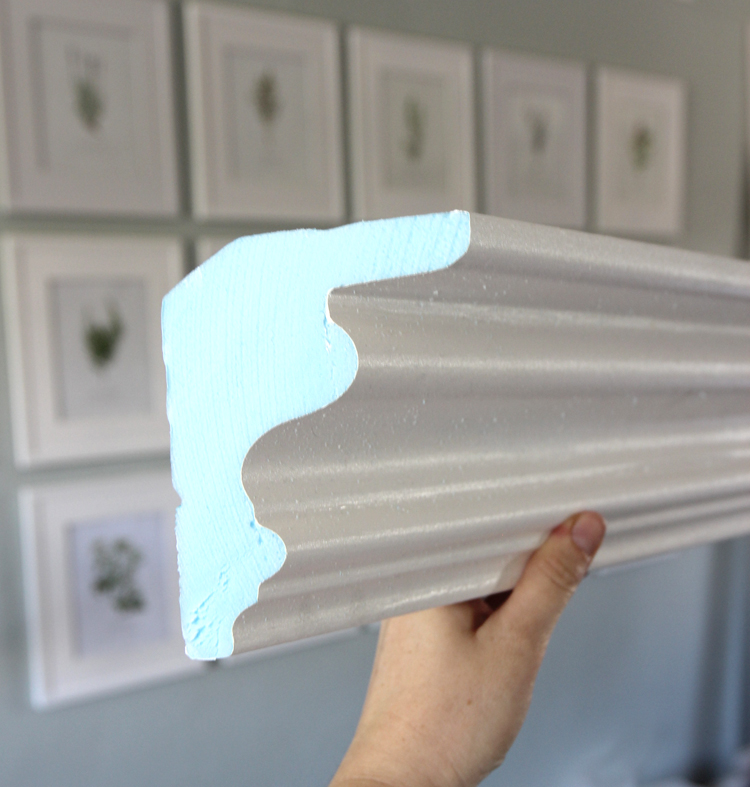
Styrofoam crown molding is a popular and cost-effective way to add elegance and sophistication to your interior spaces. Unlike traditional materials like wood or plaster, glue-up Styrofoam crown molding is lightweight, easy to install, and requires minimal maintenance. Whether you’re a DIY enthusiast or a professional, installing Styrofoam crown molding can transform any room by giving it a polished and refined look.
In this guide, we’ll walk you through the step-by-step process of installing glue-up Styrofoam crown molding, from preparation to final touches, ensuring a seamless and stunning result.
Why Choose Glue-Up Styrofoam Crown Molding?
Before we dive into the installation process, let’s quickly explore the benefits of choosing glue-up Styrofoam crown molding for your project:
- Lightweight and Easy to Handle: Styrofoam crown molding is much lighter than traditional wood or plaster, making it easier to carry, cut, and install, even for beginners.
- Cost-Effective: Styrofoam is an affordable alternative to expensive wood and plaster options, allowing you to achieve the same luxurious look without exceeding your budget.
- Flexible and Customizable: Styrofoam can be molded into various shapes and sizes, offering versatility in design. It can also be painted to match your interior décor.
- Minimal Maintenance: Once installed, Styrofoam crown molding requires little maintenance. It won’t warp, rot, or crack like wood, making it a long-lasting solution.
- Simple Installation: The glue-up method eliminates the need for nails or complicated tools, making it perfect for DIY projects.
Tools and Materials Needed
Before you begin installing glue-up Styrofoam crown molding, gather the necessary tools and materials:
- Styrofoam crown molding pieces
- Construction adhesive (strong, fast-drying type)
- Measuring tape
- Pencil or chalk line
- Miter saw (or hand saw for cutting molding)
- Utility knife
- Caulking gun (for adhesive application)
- Level
- Painter’s tape (optional)
- Sandpaper (optional for smoothing cut edges)
- Paint and brushes (optional)
Step-by-Step Installation Guide
Now that you have everything you need, let’s go through the steps for installing glue-up Styrofoam crown molding.
Step 1: Measure and Plan
The first step is to measure the perimeter of the room where you’ll be installing the crown molding. Use a measuring tape to determine the length of the walls, taking accurate measurements of corners, doorways, and other obstacles. Make a note of any irregularities in the walls to ensure a proper fit.
- Tip: It’s helpful to use a pencil to mark reference points or create a chalk line along the top edge of the wall where the crown molding will be placed. This will act as a guide to ensure a straight and level installation.
Step 2: Cut the Molding
Once you have your measurements, it’s time to cut the Styrofoam crown molding pieces to the appropriate lengths. Use a miter saw or a hand saw to cut the molding at the correct angles. In most cases, you’ll need to make 45-degree cuts at the corners to create a clean, seamless look.
- Tip: If you’re installing the molding around a rectangular room, you’ll need four straight pieces. For rooms with more complex corners, use the miter saw to create custom cuts that fit snugly.
If you need to adjust the length of a piece, a utility knife can be used to trim the molding further.
Step 3: Apply Construction Adhesive
Once your molding pieces are cut and ready, apply a generous amount of construction adhesive to the back of each piece of Styrofoam crown molding. Be sure to cover the entire surface, including the edges where the molding will meet the wall and ceiling.
- Tip: Avoid using too much adhesive, as it may squish out when the molding is pressed into place. Use a caulking gun to apply the adhesive smoothly and evenly.
Step 4: Position the Molding
With the adhesive applied, carefully position the Styrofoam crown molding against the wall and ceiling, aligning it with your reference line or pencil marks. Press the molding firmly into place, ensuring that it sits snugly and flush against both surfaces.
- Tip: Start at one corner and work your way around the room, ensuring each piece is level as you go. If necessary, use painter’s tape to hold the molding in place while the adhesive dries.
Step 5: Secure the Molding (Optional)
While the adhesive should hold the molding securely in place, you can use painter’s tape to temporarily hold it in position until the adhesive fully cures. This will help prevent the molding from shifting while it dries. Allow the adhesive to set according to the manufacturer’s instructions (usually around 24 hours).
Step 6: Fill Gaps and Smooth Edges
After the molding is securely in place, you may notice small gaps between the molding and the ceiling or walls. Use a small amount of caulk or joint compound to fill in these gaps and create a seamless finish. Smooth out the caulk with your finger or a damp cloth.
- Tip: If the cut edges of the molding are rough, use fine-grit sandpaper to smooth them before installation.
Step 7: Paint the Molding (Optional)
Styrofoam crown molding can be easily painted to match your room’s décor. Use a high-quality paint that’s suitable for foam, and apply it with a brush or roller. Styrofoam absorbs paint easily, so you may need to apply two or more coats for an even finish. Make sure the paint is completely dry before moving on to the next step.
- Tip: If you want to achieve a glossy or satin finish, choose a paint with a high sheen to give your crown molding a polished, sophisticated look.
Step 8: Final Touches
Once the paint has dried, remove any painter’s tape and inspect the installation for any areas that need touch-ups. Check for any visible adhesive marks, excess caulk, or rough spots that may need sanding or painting. After everything is cleaned up and finished, step back and admire your newly installed Styrofoam crown molding!
Conclusion
Installing glue-up Styrofoam crown molding is an easy and affordable way to elevate the look of any room. With the right tools and materials, you can achieve a professional-looking result even as a beginner. Whether you’re looking to enhance the aesthetic appeal of your living room, dining room, or bedroom, Styrofoam crown molding offers a durable and elegant solution that adds value to your home.
By following this step-by-step guide, you’ll be able to install Styrofoam crown molding with ease, giving your room a touch of class and sophistication in no time!