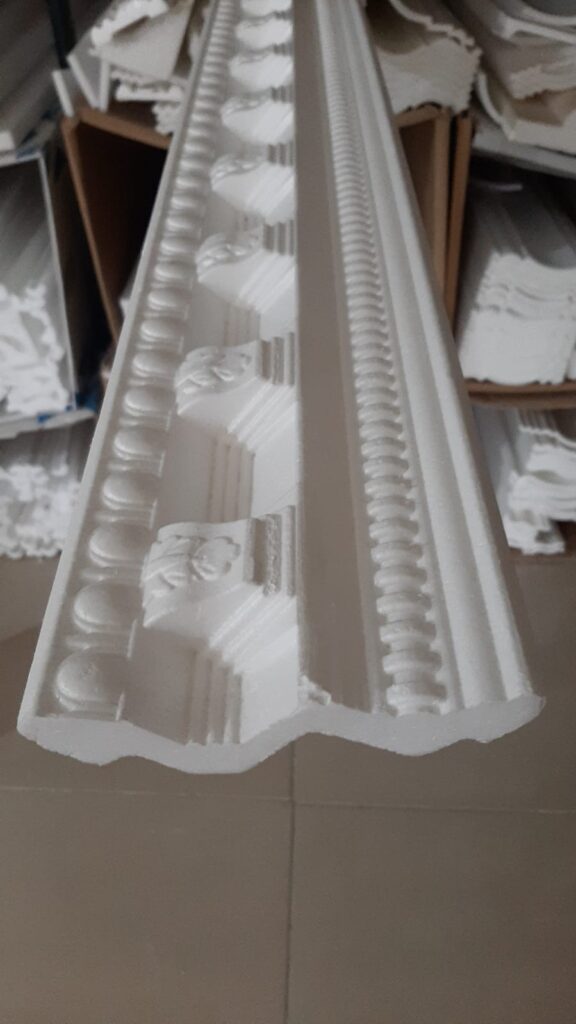

Crown molding is a beautiful and timeless addition to any room, offering an elegant transition between the wall and the ceiling. However, when it comes to installing crown molding, many homeowners feel intimidated by the process, fearing that it’s too complicated or beyond their skill level. The good news is that with the right preparation, tools, and techniques, installing crown molding can be a relatively straightforward DIY project.
In this blog, we’ll explore whether crown molding installation is difficult and provide you with helpful tips to ensure a smooth and successful application.
Is Crown Molding Difficult to Install?
While crown molding may seem like a challenging task, it’s not as difficult as it may appear. With a bit of patience, some basic carpentry skills, and the right tools, anyone can install crown molding with impressive results. The perceived difficulty often comes from the precise angles and cuts required to fit the molding properly, especially around corners and edges.
Here are a few challenges you may face:
1. Cutting Angles
Crown molding requires precise angle cuts, which can be intimidating for beginners. The molding must be installed at a 45-degree angle, which means you’ll need to measure and cut carefully. Incorrect angles can lead to gaps between pieces, which can disrupt the clean and seamless look you’re aiming for.
2. Handling Large and Heavy Molding
Some types of crown molding can be large and heavy, especially when working with wood or plaster. This can make the installation process more challenging, especially if you’re working alone. It’s important to take your time and use the right tools to handle the molding safely and comfortably.
3. Ceiling and Wall Irregularities
Not all walls and ceilings are perfectly straight or level. Irregularities in the surfaces can make it harder to get the molding to fit flush against both the wall and ceiling, leading to gaps or misalignment. This can be especially tricky in older homes where settling has caused slight shifts in the structure.
Tips for a Smooth Crown Molding Installation
Though there are challenges to installing crown molding, there are also many strategies you can use to make the process easier and more enjoyable. Here are some tips to help you install crown molding like a pro:
1. Measure and Plan Ahead
Before you start cutting and installing your crown molding, it’s essential to measure your room carefully. Measure the length of each wall where you plan to install molding, and make sure to account for any corners or angled sections. This will ensure that you buy the right amount of molding and that all pieces fit perfectly.
- Tip: Use a tape measure and a level to check that your ceiling and walls are straight and level. If they aren’t, you may need to adjust your cuts to compensate for any irregularities.
2. Use a Miter Saw for Precise Cuts
To achieve the cleanest and most accurate cuts for your crown molding, a miter saw is your best friend. Miter saws are designed for making angled cuts and will help you achieve the necessary 45-degree cuts with ease. It’s important to keep the molding at the proper angle when making cuts — the molding should be placed upside down on the saw, which can feel counterintuitive at first.
- Tip: Practice making cuts on scrap pieces of molding before starting on the actual pieces for your room. This will help you get comfortable with the saw and the angles required.
3. Use a Coping Saw for Interior Corners
While mitered cuts work well for outside corners, interior corners can be trickier. To make interior corner joints, use a coping saw. A coping saw allows you to cut along the profile of the molding, ensuring that the joint fits perfectly without leaving gaps. It’s a bit more time-consuming but will result in a much cleaner and more professional look for the corners.
4. Secure Molding with Nails or Adhesive
Once your molding is properly cut and dry-fit into place, it’s time to attach it. Most crown molding can be secured with finishing nails or a nail gun, especially for lighter materials like foam or polyurethane. For heavier materials like wood, you may need to use both nails and construction adhesive to ensure a strong, secure hold.
- Tip: Use a hammer and finishing nails or a nail gun to secure the molding to the wall and ceiling. If you’re using adhesive, apply a thin bead along the back edge of the molding before pressing it into place.
5. Ensure Proper Alignment
During installation, it’s crucial to make sure your molding is aligned properly on both the wall and ceiling. This may require occasional adjustments, especially if your walls or ceilings are slightly off-level. Use a level to check the alignment as you go and make any necessary adjustments.
- Tip: If you find that the molding doesn’t fit perfectly due to irregularities in your wall or ceiling, you can use caulk to fill in any small gaps. This will give the molding a cleaner, more seamless appearance.
6. Use a Step Ladder or Scaffold
If your ceiling is high, it’s essential to have a stable platform to work from. A step ladder or scaffold will give you the height and stability you need to handle large pieces of crown molding and make accurate cuts. Working with a partner can also be helpful when lifting and positioning heavy pieces.
- Tip: Be sure to use a sturdy ladder or scaffold, and always work safely when handling large pieces of molding overhead.
7. Finish the Molding for a Polished Look
Once the crown molding is installed, you’ll want to add the finishing touches. Use caulk to fill in any small gaps where the molding meets the wall or ceiling. Once dry, sand the caulk smooth and apply a coat of paint or stain to match your room’s decor. A final coat of paint will give your molding a polished and professional look.
Conclusion
While crown molding installation may seem intimidating at first, it’s not as difficult as it appears with the right tools and techniques. By measuring carefully, using the right saws, securing the molding properly, and ensuring alignment, you can achieve a professional-looking result even as a DIY beginner. Patience and preparation are key to ensuring a smooth and successful crown molding application. So, don’t let the idea of installing crown molding overwhelm you — with these tips, you’ll be well on your way to enhancing your room’s design with beautiful crown molding.