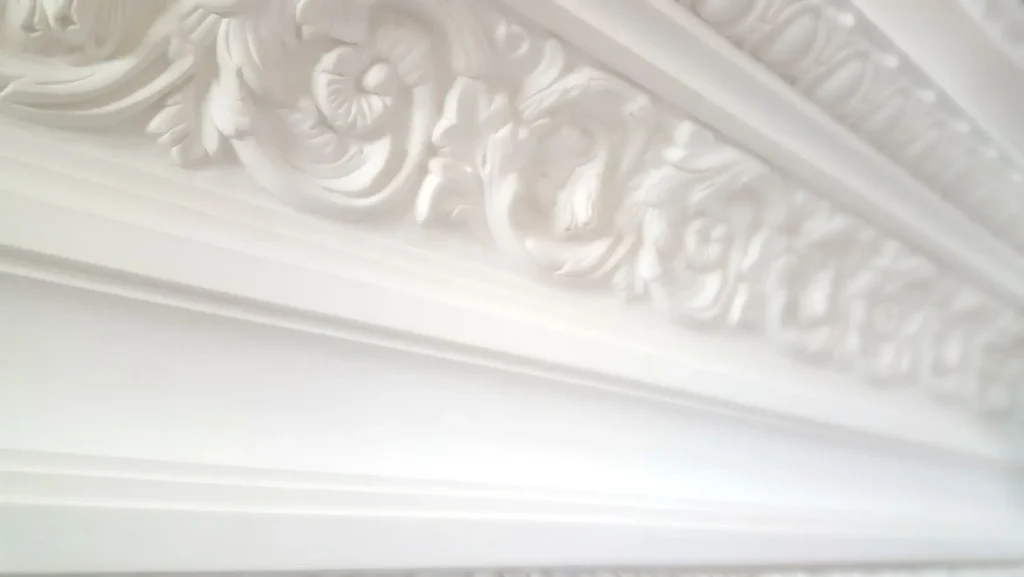
Crown molding is a beautiful and classic way to enhance the look of any room. It adds elegance, draws attention to the ceiling, and gives a polished finish to the walls. Whether you’re a DIY enthusiast or just looking to learn more about the installation process, this step-by-step guide will walk you through how to apply crown molding and achieve a flawless result.
Step 1: Gather Your Materials and Tools
Before starting the installation process, it’s essential to gather all the materials and tools you’ll need. Here’s a list of what you’ll need to complete the crown molding installation:
Materials:
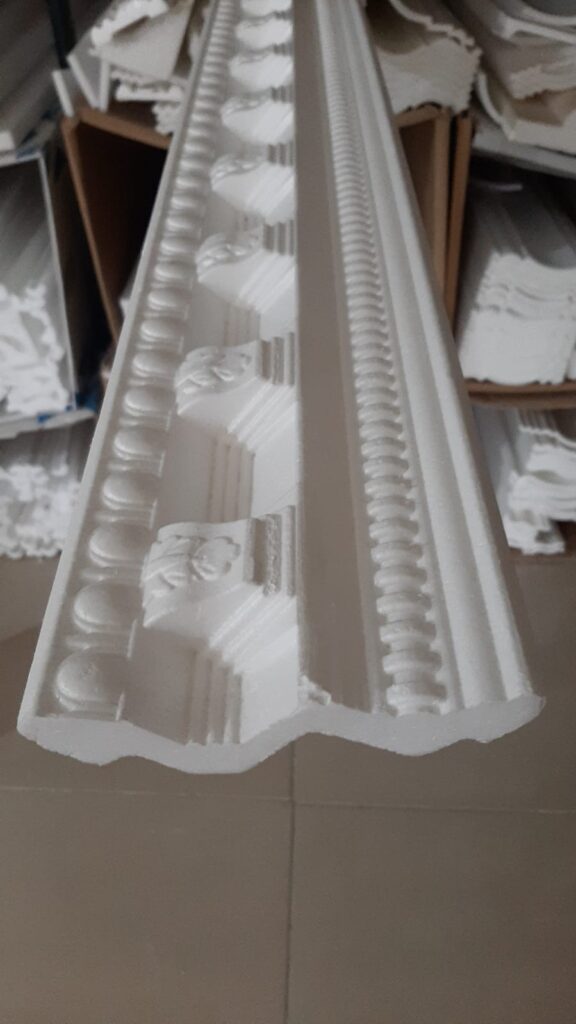
- Crown molding of your choice (wood, foam, polyurethane, etc.)
- Nails or screws (or construction adhesive for a secure hold)
- Caulk (for sealing gaps)
- Paint or stain (optional for finishing)
Tools:
- Measuring tape
- Miter saw (for cutting the molding at angles)
- Coping saw (for interior corners)
- Nail gun or hammer and finishing nails
- Level
- Step ladder or scaffolding
- Pencil
- Wood glue (if needed)
- Power drill or screwdriver (if using screws)
- Caulking gun
- Sanding block (for smooth finishes)
Step 2: Measure and Cut the Molding
Measure Your Walls:
Start by measuring the length of the walls where you plan to install the crown molding. Make sure to measure accurately, as precise measurements will ensure the pieces fit together seamlessly.
- Tip: Always measure twice to ensure accuracy. It’s better to cut slightly longer and trim if necessary than to cut too short.
Cut the Molding to Length:
Using your miter saw, cut the molding to the appropriate lengths according to your wall measurements. The cuts need to be made at precise angles to ensure they fit neatly at the corners.
- For Outside Corners: Set your saw at a 45-degree angle to make the cuts for outside corners.
- For Inside Corners: Use a coping saw to make the cuts for inside corners. This will allow the molding to fit perfectly together without gaps.
Tip: If you’re new to cutting crown molding, practice on a scrap piece first to get a feel for the angles and saw settings.
Step 3: Dry-Fit the Molding
Before attaching the molding to the wall or ceiling, dry-fit the pieces by holding them in place to check their alignment and ensure that the cuts are correct. This step will allow you to make adjustments before the molding is permanently attached.
- Tip: If you notice any gaps between the pieces, you can make slight adjustments to the cuts or trim the molding for a better fit.
Step 4: Attach the Molding to the Wall and Ceiling
Now that you’ve confirmed the pieces fit, it’s time to attach the crown molding to the wall and ceiling.
For Nail or Screw Installation:
- Start by applying a thin line of construction adhesive along the back of the molding (optional, but can help secure the molding in place).
- Use a level to ensure the molding is straight and positioned correctly on the wall and ceiling.
- Use a nail gun or hammer and finishing nails to attach the molding. Nail the molding into the wall and ceiling, ensuring that the nails go into studs (if possible) to provide a secure hold.
- If using screws, drill pilot holes first to prevent the molding from splitting, and then use screws to secure it in place.
Tip: To avoid leaving visible nail holes, you can countersink the nails slightly, so they don’t stick out. You can cover the holes with wood filler later.
Step 5: Fill Gaps and Nail Holes
After the molding is attached, there might be small gaps between the molding and the wall or ceiling. To create a seamless look, use caulk to fill in these gaps.
- Apply a small bead of caulk along the edges where the molding meets the wall and ceiling.
- Smooth the caulk with your finger or a damp cloth to ensure it’s level and flush with the molding.
- Use a sanding block to smooth any rough areas and remove excess caulk.
Additionally, fill any nail holes with wood filler or putty and sand them smooth once dry.
Step 6: Finish the Molding
Once the caulk and filler have dried, it’s time to finish your crown molding.
- Painting: If you’re painting your molding, lightly sand it before applying a coat of primer, followed by paint. Choose a finish that complements the room’s design (glossy finishes tend to look more polished, while matte finishes offer a softer appearance).
- Staining: If you’re using wood molding, you can stain it for a natural wood finish. Apply the stain with a brush, and wipe off the excess after a few minutes. Follow up with a clear polyurethane coat to seal the finish.
Step 7: Final Touches and Cleanup
Once the paint or stain is dry, step back and admire your work! You’ve successfully installed your crown molding.
- Touch-Up: If necessary, do any final touch-ups to your paint or caulk. Inspect the entire molding to make sure everything is aligned properly and that there are no visible gaps or flaws.
- Clean the Area: Clean up the work area by removing any debris, dust, and leftover pieces of molding.
Conclusion
Installing crown molding is a rewarding DIY project that can completely transform the look of a room. By following these simple steps—measuring, cutting, attaching, and finishing—you can achieve a professional result with a little patience and the right tools. With the proper preparation and technique, crown molding can be a beautiful addition that enhances your home’s decor. Happy installing!