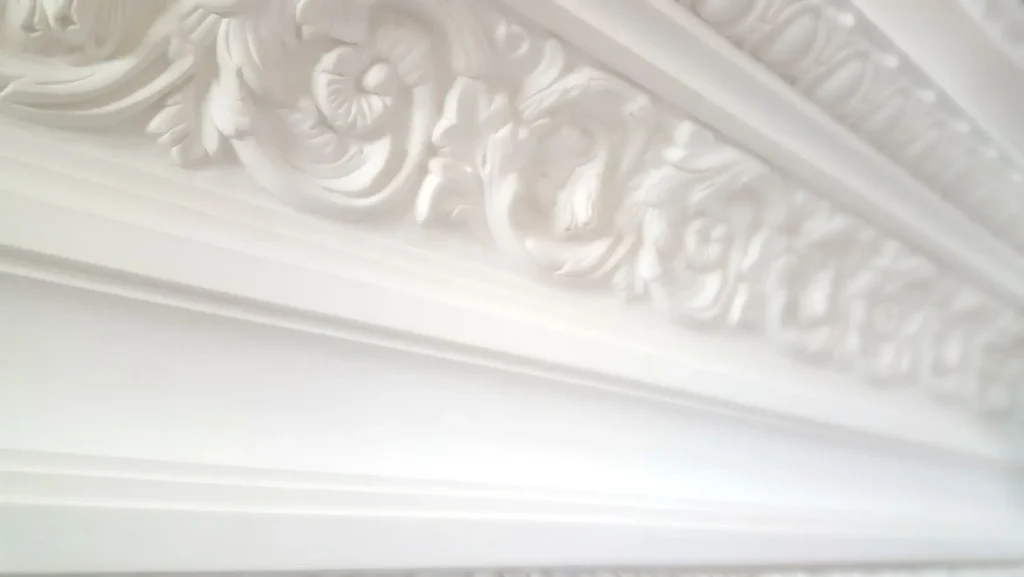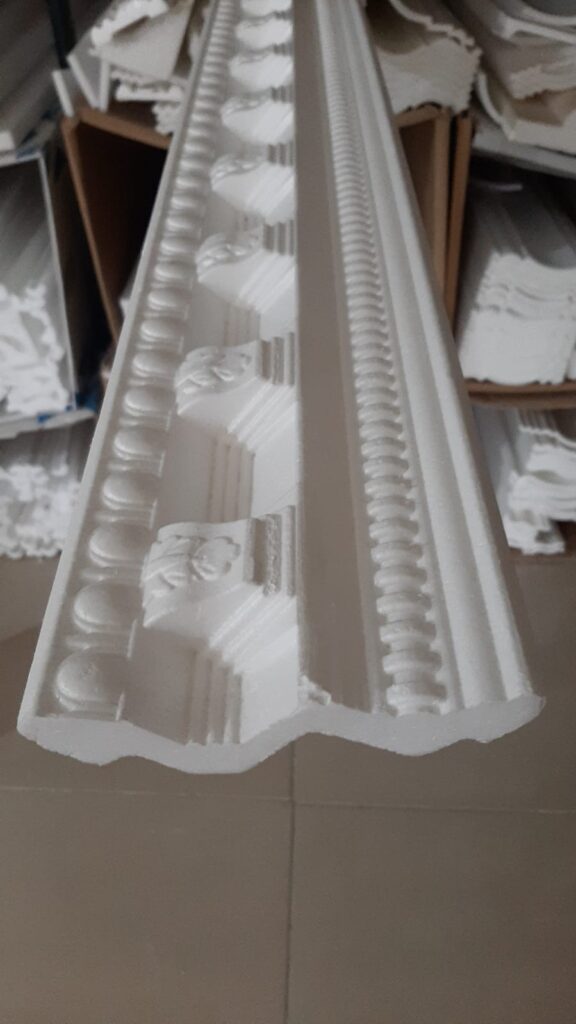
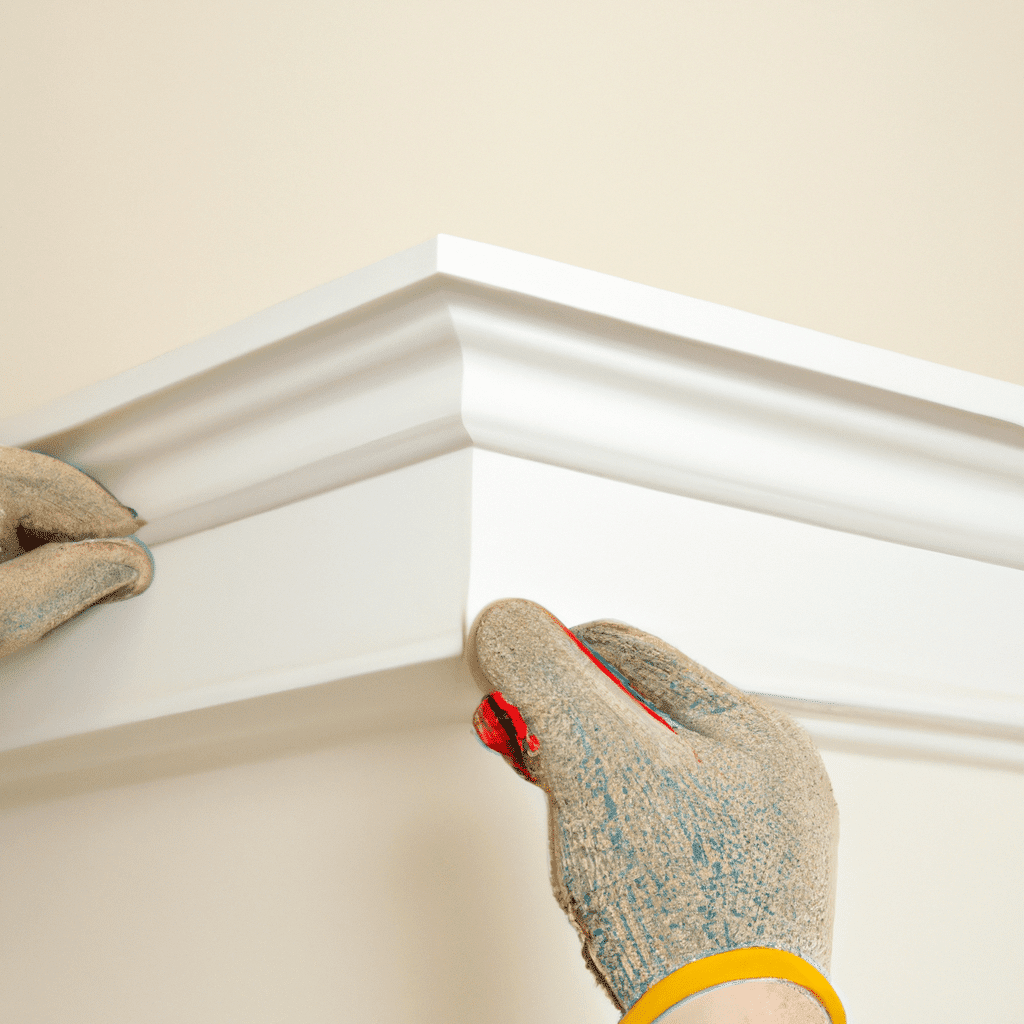
Installing cornices can seem like a daunting task, but with the right tools, materials, and a bit of patience, you can achieve a professional-looking result. Cornices not only enhance the aesthetic of your room but also help conceal imperfections where the wall meets the ceiling. Here’s a simple, step-by-step guide to installing cornices and transforming your space.
Materials and Tools You’ll Need
- Cornices (Gypsum, polyurethane, wood, or PVC)
- Measuring tape
- Miter saw or handsaw
- Utility knife
- Adhesive (for lightweight materials)
- Nails or screws (for heavier cornices)
- Hammer or drill
- Caulk or filler
- Paint and brush
- Ladder or step stool
- Level
Step 1: Measure and Plan
Measure the Perimeter
Start by measuring the length of the walls where you’ll install the cornices. Make sure to measure accurately to ensure the correct amount of cornice material.
Plan the Design
Decide whether you’ll use plain cornices or incorporate lighting into the design. If adding lighting, plan where the LED strips or recessed lights will be placed.
Mark the Wall and Ceiling
Using a pencil, lightly mark the top of the wall and the ceiling where the cornices will be fixed. This will serve as a guide during installation.
Step 2: Cut the Cornices
- Measure and Mark the Cornice Length
Measure the length of each wall and mark the appropriate length on the cornice material. Add a little extra for cutting adjustments. - Cut Cornices at 45-Degree Angles
Most cornice joints require a 45-degree angle for the corners. Using a miter saw or a handsaw with a miter box, cut the ends of the cornices at 45-degree angles.
Pro Tip: Double-check the measurements and angles before cutting, as mistakes can lead to gaps or ill-fitting corners.
Step 3: Prepare the Wall and Ceiling
- Clean the Surface
Ensure the wall and ceiling are clean and dry. Wipe away any dust, debris, or grease that may affect adhesion. - Apply Adhesive or Fixings
If you’re working with lightweight cornices (e.g., polyurethane or PVC), apply a strong adhesive to the back of the cornice. For heavier materials like wood or gypsum, you may need to use nails or screws to secure them in place.
Pro Tip: Use a level to ensure the adhesive is applied evenly along the edges of the cornice.
Step 4: Install the Cornices
- Place the Cornice on the Wall
Begin by attaching the cornice at one corner of the room. Hold it in place for a few seconds to allow the adhesive to bond, or use nails to secure it temporarily. - Align and Attach Cornices
Work your way along the wall, aligning each piece of cornice. Ensure the corners meet precisely, and adjust if necessary before securing each piece in place. - Check for Level
Use a level to make sure the cornice is installed straight. Adjust the position if needed while the adhesive is still setting.
Step 5: Fill Gaps and Seal Joints
- Fill Gaps and Seams
After the cornices are installed, you may notice small gaps between the cornice and the wall or ceiling. Use caulk or filler to seal these gaps. - Smooth the Surface
Once the filler is dry, smooth the surface with a fine sandpaper to create a seamless finish.
Step 6: Paint and Finish
- Prime the Cornices
If your cornices are unpainted, apply a coat of primer before painting. This helps the paint adhere better and creates a smooth surface. - Paint the Cornices
Apply the desired paint color to your cornices. Use a brush for smaller, detailed areas or a roller for larger surfaces.
Pro Tip: Allow the paint to dry fully between coats for a clean and professional finish.
Step 7: Final Touches
- Clean the Area: Remove any excess caulk or paint splatters from the walls or floor.
- Inspect the Installation: Check the entire installation for gaps or any uneven sections. Touch up if necessary.
Conclusion
Installing cornices can be a rewarding DIY project that adds sophistication and style to your space. By following these simple steps—planning, cutting, attaching, and finishing—you can achieve a professional result without needing expert help. Whether you’re enhancing a modern or traditional interior, cornices are a cost-effective way to upgrade your room’s design.
Ready to get started? Gather your materials and begin your cornice installation today for a stunning transformation!